
First up...Bacon Wrapped Green Beans
(picture was after they were cooked...sorry)

Green Bean Bacon Bundles from the blog How Sweet It Is
1 pound fresh green beans
10-12 slices of thick-cut bacon *I used regular bacon
2 tablespoons butter
1 tablespoon brown sugar
2 cloves of garlic, minced
1/4 teaspoon salt
1/4 teaspoon pepper
Preheat oven to 400 degrees F. Spray a 9 x 13 baking dish with non-stick spray.
Wash and thoroughly dry green beans, then season with salt and pepper. Bundle together about 5-8 green beans – this will depend on your size of beans and the amount of beans you get for one pound. Bundle together as many as you’d like! Using a slice of bacon, wrap it around the center of the beans to hold it together. Lay the bundle bacon seam side down in the baking dish to hold it together. Repeat with remaining beans.
Heat a small saucepan over low heat. Add butter, brown sugar and garlic and whisk until melted and combined. Using a pastry brush, brush the mixture over top of each green bean bundle. Cover the bundles with foil and bake for 35 minutes. Remove foil and bake for 10-15
**I didn't like how the fresh green beans looked at the store, and I had some frozen ones in the freezer, so I used those instead. They still turned out DELICIOUS! I will def. makes these again! I wish I would have made more to start with because they ALL got eaten and I only got to have one when really I wanted like 5!! :)
**Also I don't have a pastry brush, so I just poured the brown sugar mixture over the top..I also forgot to cover them w/ foil and cooked them for 45 minutes and they still turned out SOO, SOO YUMMY!
Next up: Man Pleasing Chicken
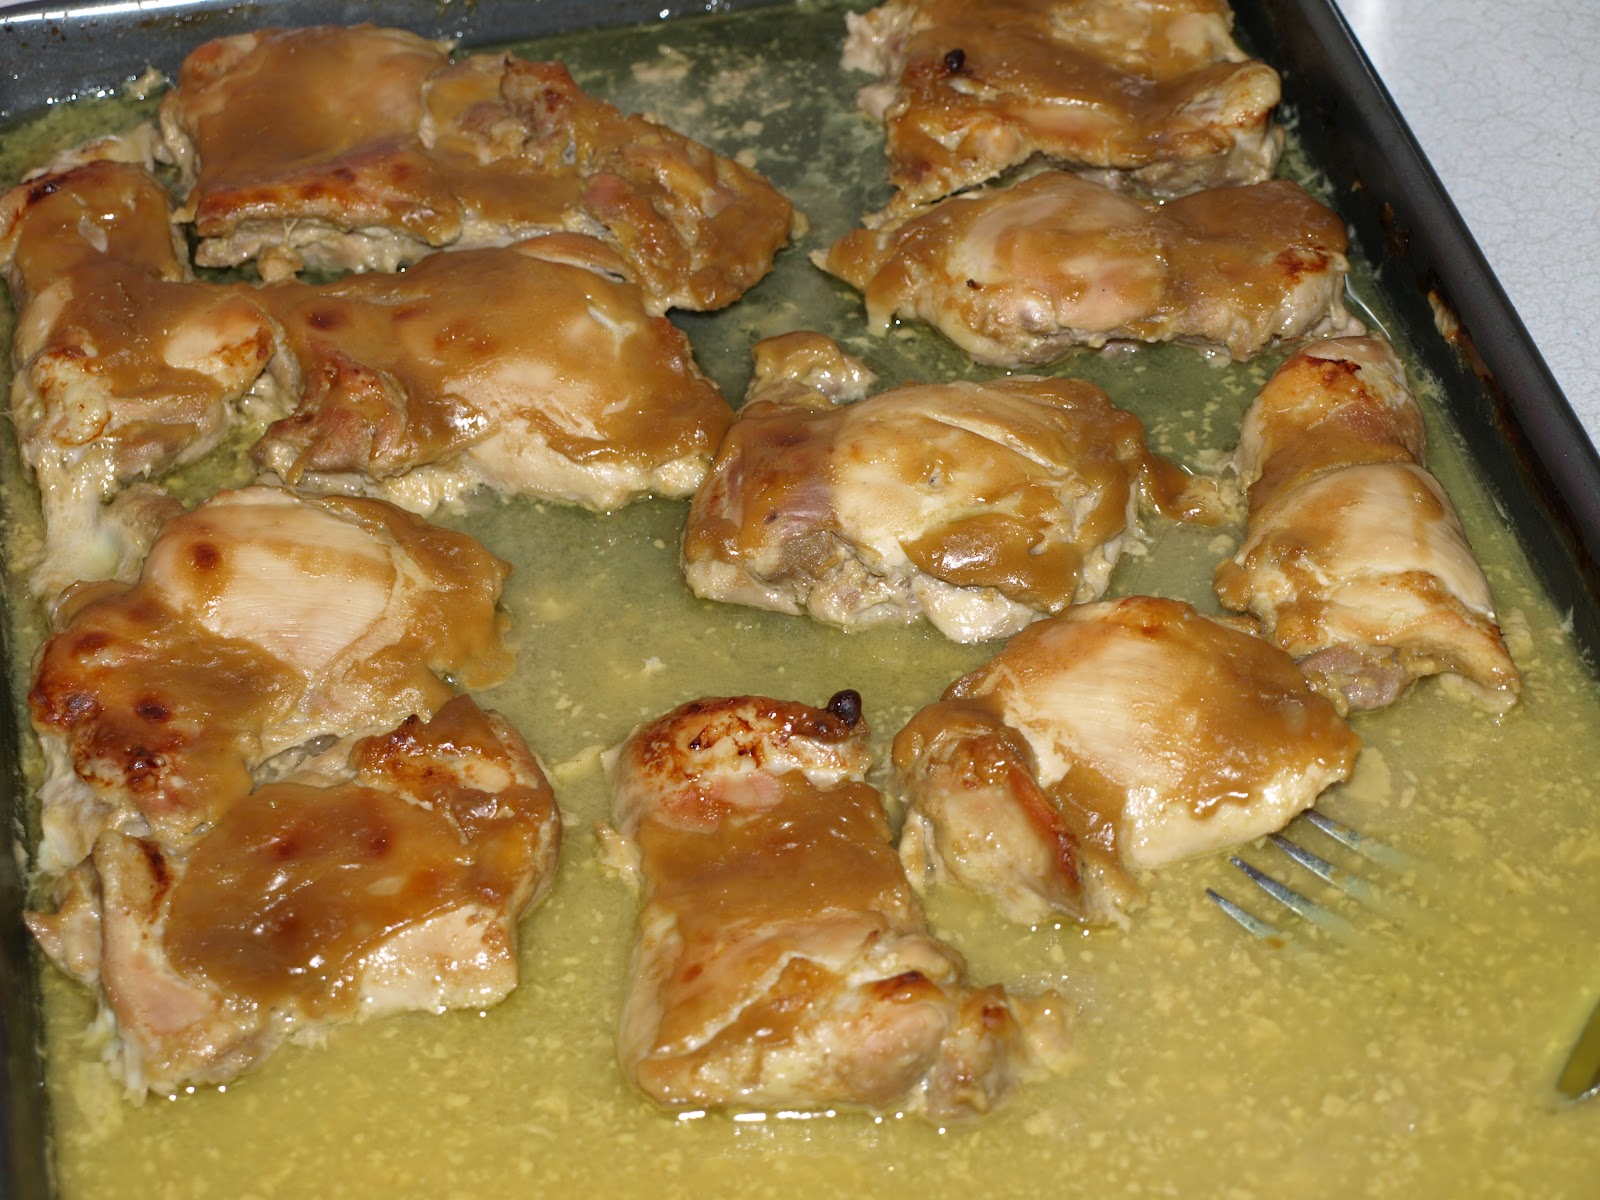
(both of my 9x13 pans were in use so I used a cookie sheet...it worked fine.)
**Again another recipe I would make again... soo yummy and soo easy!!
preheat your oven to 450ºF. Then, mix together 1/2 cup of dijon mustard, 1/4 cup of maple syrup, and 1 tablespoon of rice wine vinegar.
Put a 1.5 pound package of chicken thighs into a foil-lined, oven-proof baking dish. I used boneless, skinless thighs. 4 came in my package and I was serving 10 people so I actually ended up cooking 18 pieces of chicken...I kind of forget, this was last week, but I doubled my sauce recipe so I would have enough... Then, salt and pepper the thighs. Pour your maple mustard mixture over them, turning the thighs in the mixture so they are fully coated.
Put the chicken thighs into the oven, and let them bake for 40 minutes or until a meat thermometer reads 165ºF. Baste the tops of the chicken with more sauce half way through. **note from original recipeI find that a meat thermometer is essential in cooking because it allows me to check for doneness without cutting into the meat and losing its precious juices.** (I went out and bought one and boy was I glad...the chicken was so moist and juicy and I knew when it was done! Let the chicken rest for 5 minutes before serving. Plate the chicken, making sure to spoon some extra sauce over the top. Sprinkle over some fresh rosemary.
The dinner plate for the evening...

I paired the chicken and green beans w/ garlic mashed potatoes and a salad.
DELICIOUS!
Now dessert...this was an EPIC FAIL!!!!!!!!
Rootbeer Float Cupcakes
Cake Ingredients
1 cup root beer schnapps
1 1/2 cups old-fashioned style root beer (like A&W or Dads)
2 tsp. vanilla extract
2 cups dark brown sugar
1 cup butter
2 eggs
3 cups all purpose flour
1 Tbs. baking powder
2 tsp. baking soda
1 tsp. salt
1 1/2 cups old-fashioned style root beer (like A&W or Dads)
2 tsp. vanilla extract
2 cups dark brown sugar
1 cup butter
2 eggs
3 cups all purpose flour
1 Tbs. baking powder
2 tsp. baking soda
1 tsp. salt
Root Beer Glaze
4 cups confectioners sugar
1/3 cup root beer
3 Tbs. root beer schnapps*
3 Tbs. vegetable oil
1/3 cup root beer
3 Tbs. root beer schnapps*
3 Tbs. vegetable oil
*for a more kid friendly version, replace schnapps with more root beer
You will also need some extra root beer schnapps (1 Tbs. per cupcake)
Or for the kiddies use root beer (again 1 Tbs. per cupcake)
You will also need some basic Vanilla buttercream ( there are many recipes online to try J)
Or for the kiddies use root beer (again 1 Tbs. per cupcake)
You will also need some basic Vanilla buttercream ( there are many recipes online to try J)
Directions
1. Preheat oven to 350ºF.
2. In a bowl, mix together root beer schnapps, root beer, and vanilla extract. Set aside.
3. In a separate bowl, cream together butter and sugar until light and fluffy.
4. Add eggs, mix until smooth
5. Sift in flour, baking soda, baking powder and salt.
6. Mix with hand mixer on low, while slowly pouring in root beer mixture.
7. Mix until smooth and lump free.
8. Pour into lined cupcake pan. (Use foil cupcake liners to avoid "leakage" later.) Fill nearly to the top, you may think its over-filled, but it puffs up perfectly this way. Don't be tempted to use more than 24 cupcake cups... trust me.
9. Bake for 15- 20 minutes, until golden brown and cake springs back when touched.
10. While cupcakes are baking, prepare your butter cream and root beer glaze. For glaze, put all ingredients into a bowl and mix with a wisk until smooth and lump free.
11. To assemble, start by letting cupcakes cool, still in the pan.
12. While still slightly warm, pour 1 Tbs. of root beer schnapps over each cupcake. Pour on slowly to allow schnapps ( or regular root beer for the kiddies) to soak in.
13. Once the schnapps has soaked in and let sit for a few minutes, pour a couple tablespoons of glaze over each cupcake.
14. When the glaze sets up a bit and isn't too runny, put a "scoop" of buttercream atop each. For an added touch, you can even place a root beer barrel candy on each one.
Makes 2 dozen cupcakes
So I was super excited about making these and I knew Brynn would be eating them plus I didn't make it to the liquor store so I skipped the schnapps and used more rootbeer...which if I ever, key word IF, make these again i will def. get the schnapps...
Ingredients going into the bowl...

First round in the oven (to the top as recommended) pouring out EVERYWHERE...what a mess!

This does not look right!!!

Light and springy?!?! FAR FROM IT! They sunk and looked TERRIBLE!!!

As crappy as they looked I still tried to finish them off...by the time I made my buttercream I was not into making them presentable so I just slapped on a small scoop and called it good.


Complete FAILURE!
They were very mushy on the inside (and I didn't even add the extra rootbeer after baked...just the glaze) and getting burned on the outside so I had to take them out of the oven. They sunk terribly!!! And the rootbeer flavor wasn't that great. The best part was eating the buttercream frosting off the top...and there wasn't even much of that!

According to the original recipe this is what they are supposed to look like...hmmm..I would like to see this done...

No comments:
Post a Comment